Edit Vendor
Use this page to update an existing vendor’s information. This includes contact details, identification documents, and financial settings.
Summary
Use this page to maintain vendor records when contact, identity, or balance data changes. Updates here affect future purchasing and payment workflows.
When to use this page
- Updating vendor contact or business information
- Changing vendor status (active/inactive)
- Modifying balance limits or financial data
- Updating identification documents or photos
How to access this page
- Go to Business → Vendors from the sidebar
- On the Vendor List page, select a vendor
- Click on the Photo or SKU or Client Name
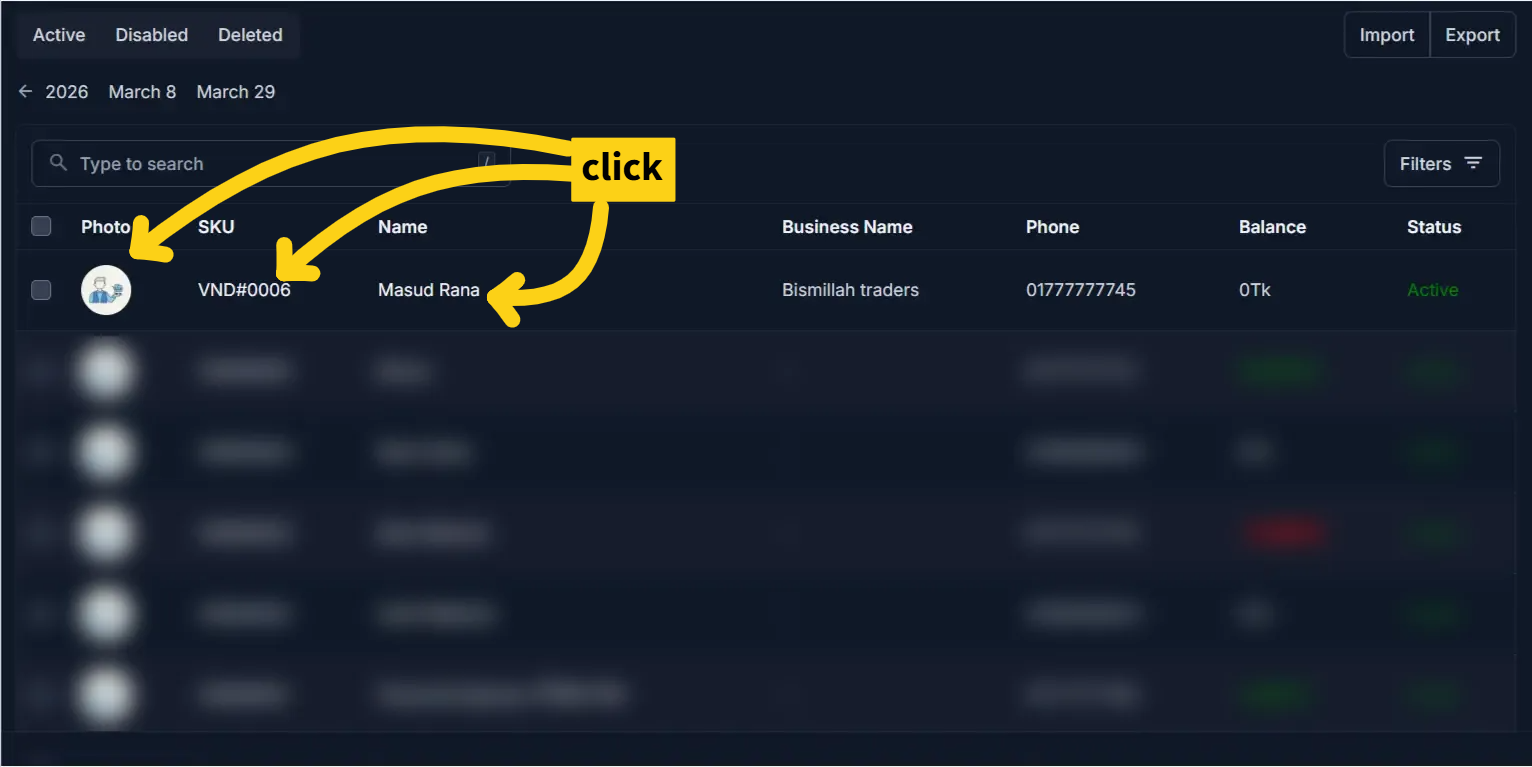
The system opens the Edit Vendor Page.
Step-by-step instructions
- Open Business -> Vendors from the sidebar.
- Select a vendor from the list.
- Update the required fields in personal, business, and balance sections.
- Verify financial changes and document updates.
- Click Save to apply changes.
Field reference
- Name - Display name used for the vendor record.
- Is Enabled - Controls whether the vendor can be used in new transactions.
- Phone - Main contact number, especially important when SMS is enabled.
- NID and photos - Identity information and document images for verification.
- Balance and limits - Financial fields that influence reports and operational checks.
What’s different from Add Vendor
- All fields are pre-filled with existing vendor data
- You are modifying, not creating a new record
- Some fields may already contain system-generated or historical values
- Changes will immediately affect future transactions
Personal Information
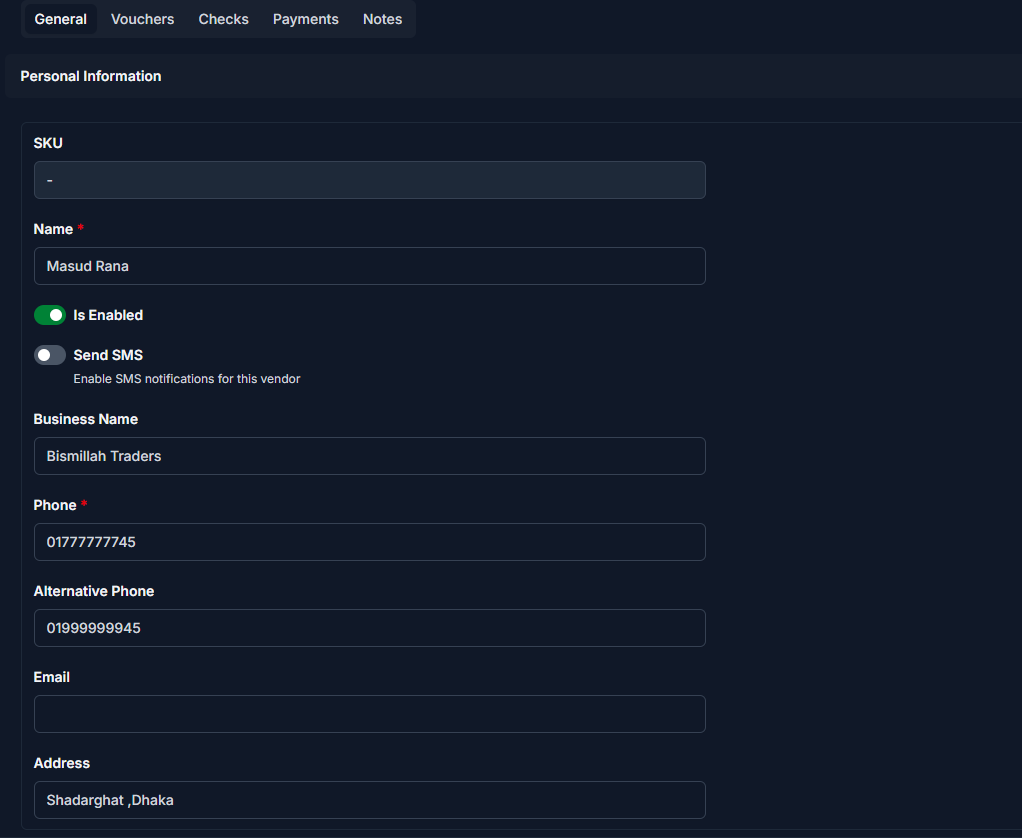
Update the following fields as needed:
| Field | What you can change | Notes |
|---|---|---|
| Name | Edit | Updates how the vendor appears in the system |
| Is Enabled | Toggle ON/OFF | Disabling prevents usage in new transactions |
| Send SMS | Enable/Disable | Controls notification behavior |
| Business Name | Edit | Optional |
| Phone | Edit | Must be valid if SMS is enabled |
| Alternative Phone | Edit | Optional |
| Edit | Optional | |
| Address | Edit | Update vendor location |
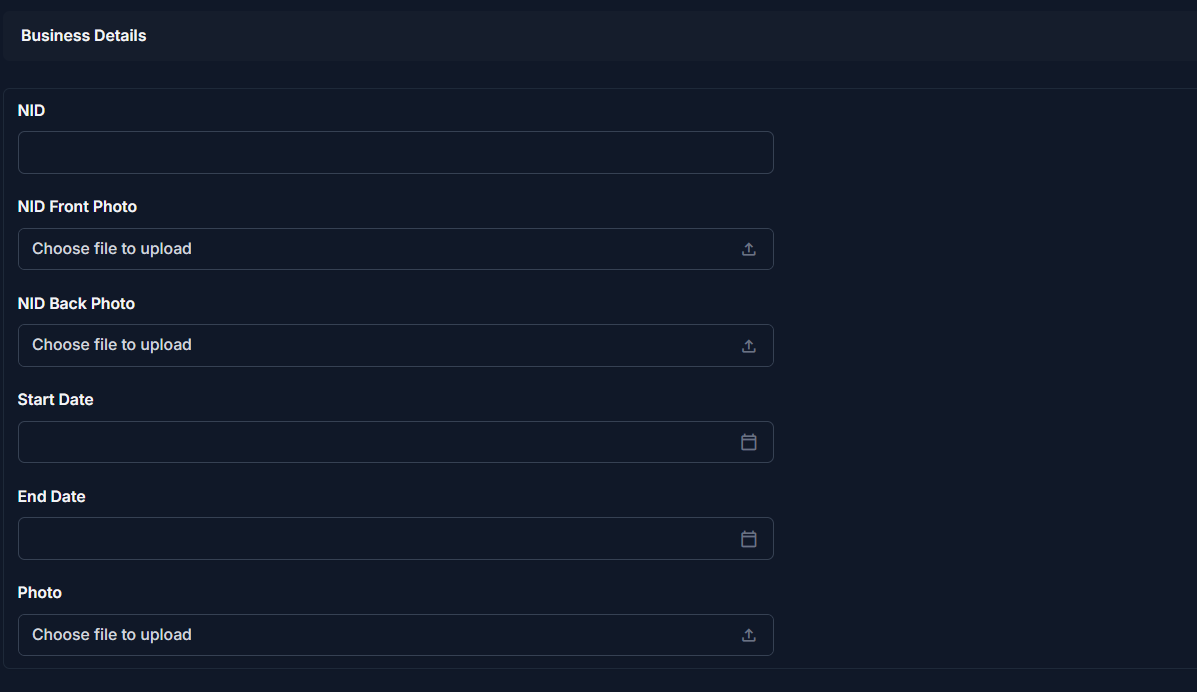
Business Details
| Field | What you can change | Notes |
|---|---|---|
| NID | Edit | Ensure accuracy for verification |
| NID Front Photo | Replace | Upload a new image if needed |
| NID Back Photo | Replace | Upload updated image |
| Start Date | Edit | Should reflect actual relationship start |
| End Date | Set/Update | Leave empty if ongoing |
| Photo | Replace | Update vendor profile image |
Note
Replacing images will overwrite previous uploads.
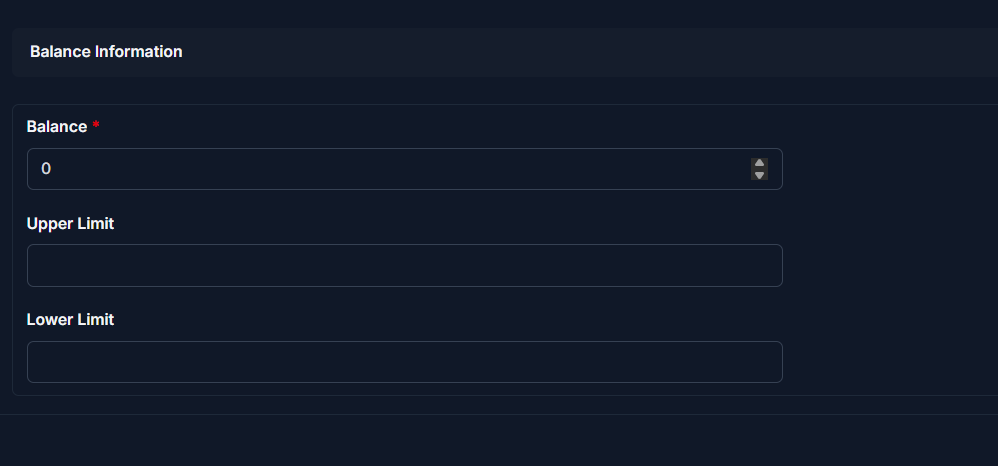
Balance Information
| Field | What you can change | Notes |
|---|---|---|
| Balance | Adjust if required | Be careful — affects financial records |
| Upper Limit | Modify | Controls maximum allowed balance |
| Lower Limit | Modify | Controls minimum allowed balance |
Warning
Changing balance-related fields can impact financial tracking and reports.
Saving Changes
After updating the required fields:
- Click Save to apply changes
- Changes are immediately reflected across the system
Tips and Common Issues
- Disabling a vendor prevents it from being used in future transactions
- Ensure Phone number is correct before enabling SMS
- Avoid unnecessary changes to Balance, as it affects reports
- Always verify NID information before saving
Related Pages
- Add Vendor — Create a new vendor
- Vendor Detail — View vendor profile and history
- Vendor Reports — Analyze vendor financial data